|
|
|
Elasticity and Deformation
 | The performance of coatings when influenced by external stresses caused by stretching, bending or impacts, determines their suitability for their designed application. A coating designed for use in the coil coating industry, for example, should have the ability to stretch as the substrate is formed into its desired shape without damage. Deformation or damage would reduce the protective quality and appearance including color change, adhesion etc. Further, a coating designed for industrial use should be able to withstand impacts during the life of the product. In order to characterize a coating’s performance to elongation and deformation, a number of repeatable and reproducible tests have been developed. |
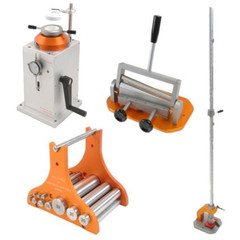
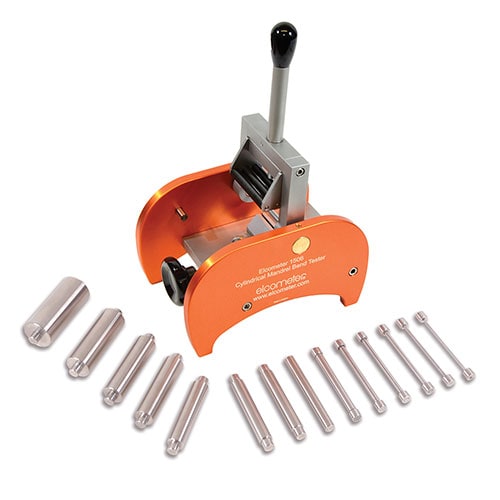
A coated metal sheet is bent over a conical or cylindrical mandrel and cracks, color change, adhesion etc. of the coating are evaluated. Corresponding results, produced by decreasing mandrel sizes, indicate the degree of elasticity of the coating. A conical mandrel allows the user to undertake fewer tests to achieve a similar result to cylindrical mandrels.
|
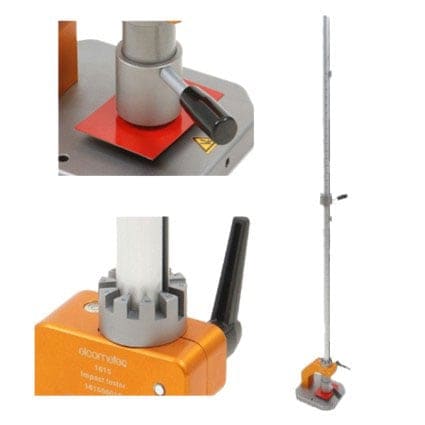
Impact testing is used to measure an objects, material, or coatings ability to resist high-rate loading, normally thought of as two objects colliding at high relative speed. A coating's ability to resist impact is one of the major determining factors in the service life of a part and/or it's suitability for an application. The ability to quantify this property is a great advantage in product liability and safety.
There are two methods primarily used to determine a material or objects resistance to impact. A weight with a punch attached falls on a coated metal sheet or a weight falls on to a punch which is resting on the coated metal sheet. In either test, the damage caused is observed and evaluated. These methods are used to identify how a coating performs under a rapid deformation process.
|
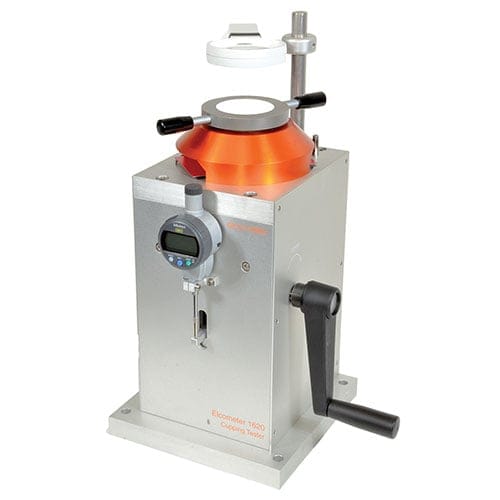
These robust and user-friendly instruments are used for assessing the cupping ability of coatings applied to metal sheets up to 1.2mm (0.05") thick.
The Elcometer 1620 has a 27mm (1.06") diameter hardened steel die in a clamping device and a 20mm (0.79") diameter punch. A hand-rotated crank and reduction drive moves the punch progressively into the sample.
The Elcometer 1620 has a digital gauge with an illuminated magnifier to accurately view the resultant damage and provides accurate readings of the cupping depth on an integrated gauge. Direct viewing of the fissures, cracks and tears in the coating of up to 10μm (0.4mil) can be viewed through the supplied x10 illuminated magnifying glass.
|
|
|
|
|
|


