 Related Product(s)>> Related Product(s)>>
>>Download Full PDF
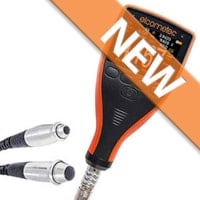
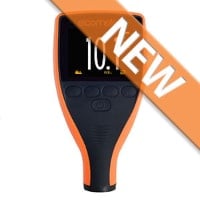
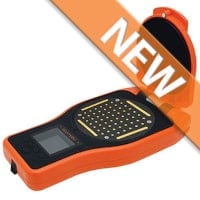
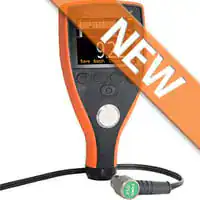
Integral and Separate Model Range
The Elcometer 456 is available in four different models. Each gauge provides the user with increasing functionality – from the entry level Elcometer 456 Model E, to the top of the range Elcometer 456 Model T.
Integral gauges are ideal for single handed operation as the wide footprint of the BigfootTM internal probe provides greater stability during measurement – allowing for consistent, repeatable and accurate results.
Separate models, with their wide range of probes, provide even greater measurement flexibility.
The Elcometer 456 sets new standards, providing reliable and accurate coating thickness measurement, helping you to become more efficient.

Highlight Features:
- Easy
- Large button ideal for gloved hands
- Easy to use menus in multiple languages
- High contrast color LCD with auto rotate
- High and low reading limit indicators
- Factory calibrated for immediate use
- Accurate
- Measurement capability to PlusMin1%
- Can be used in accordance with National & International Standards
- Temperature stable measurements
- Increased reading resolution for thin coatings
- Measures accurately on smooth, rough, thin and curved surfaces
- Reliable
- Repeatable and reproducible
- 2 year gauge warranty
- Supplied with full traceable test certificates
- Batch date and time stamp facility
- Rugged
- Sealed, heavy duty and impact resistant
- Dust and waterproof equivalent to IP64
- Scratch and solvent resistant display
- Durable gauge and probe construction
- Suitable for use in harsh environments
- Efficient
- Fast reading rate of 70+ per minute, 140+ per minute with Ultra/Scan Probe
- Multiple calibration memories
- Alpha numeric batch identification
- User selectable calibration methods
- Compatible with ElcoMasterTM and ElcoMasterTM Mobile App
- Powerful
- Wide range of interchangeable probes
- USB and BluetoothTRAD data output to iPhone or AdroidTM devices
- Stores up to 150,000 readings in 2,500 batches (Model T)
- Measures up to 31mm (1220mils) of coating on metal substrates
Scan Mode
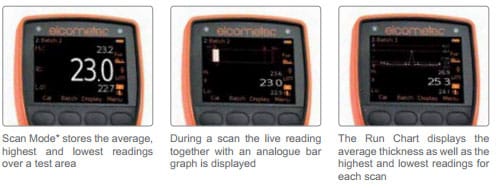
When the Scan Mode is selected users can slide the Ultra/Scan probe over the entire surface area. As the probe is lifted off the surface the gauge displays the average coating thickness value, the highest thickness and the lowest thickness values. Each set of three readings (average, high and low) can be displayed on the run graph and stored into the memory. During each scan the Elcometer 456 displays the live thickness reading together with an analogue bar graph which graphically indicates the thickness relative to both the nominal thickness and any user-defined limits. 
Auto Repeat Mode
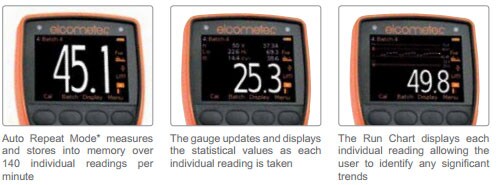
When the Ultra/Scan Probe is slid over the coated surface in Auto Repeat Mode*, a reading is taken approximately every half a second. Each individual reading is stored into the memory. With a reading rate in excess of 140 readings per minute the Auto Repeat Mode can significantly speed up the inspection of large coated areas. 
Ultra/Scan Probe
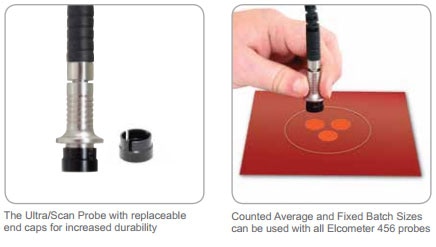
Featuring a highly durable ‘snap on’ replaceable probe cap, the Elcometer 456 Ultra/Scan Probe is a revolutionary design which allows users to take individual readings or rapidly scan large surface areas - without damaging the probe or the coating.
When used in conjunction with the Elcometer 456 Scan or Auto Repeat Modes* the Ultra/Scan Probe enables users to significantly reduce inspection times without affecting accuracy.
The Ultra/Scan Probe uses the Elcometer 456’s patented offset feature+, ensuring that any cap wear during use# is incorporated within the calibration process. The gauge even informs the user when to replace the cap. 
Counted Average Mode
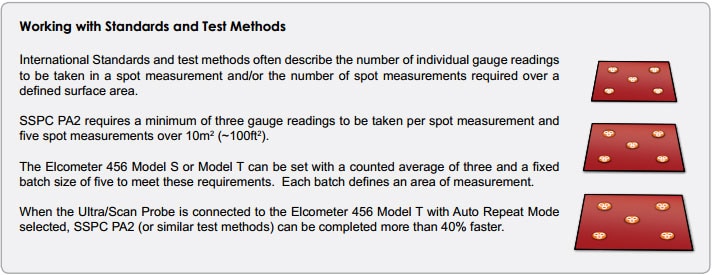
The Elcometer 456 Model S and Model T are supplied with the Counted Average Mode. Once the user has defined the number of individual gauge readings to be taken within a spot measurement, the gauge stores the average of the individual gauge readings into the memory.
Fixed Batch Sizes
The Fixed Batch Size feature within the Elcometer 456 Model T allows users to define the maximum number of readings in each batch. Once the maximum number of readings has been reached the gauge automatically opens up a new batch which is linked to the previous batch (name-1, name-2, etc.).  Related Product(s)Download Full PDF
 |

